Sunday, June 30, 2013

Smores Without A Campfire Recipe #1 - Smores Bars

     We decided to come up with some Smores recipes to do without a camp fire since it is way too dangerous to have camp fires right now. I have a couple assistants helping me with recipes this week so hopefully we will be able to share a bunch with you.
     The first recipe we are sharing is for Smores Bars. We found this recipe on AllRecipes.com. You need:
4 cups Honey Graham Cereal
3 tablespoons butter
6 cups marshmallows
1/4 cup light corn syrup
1teaspoon vanilla extract
1 1/2 cups milk chocolate chips
 
Ingredients
     The first step is to coat a 9x13 dish with cooking spray and set it aside for later.
 
Pan Preparation
     Next, measure out your cereal and place in a mixing bowl so it is ready for later.
 
Measuring Cereal
      It is very important to make sure your ingredients are good. My assistants were very good at quality control. We ended up using some marshmallows that were on the verge of being stale and we should not have used them. They didn't melt right and it kind of messed up our bars a little.

Quality Control
     In a saucepan, melt the butter over low heat and then add the marshmallows and corn syrup. Keep an eye on the saucepan so the marshmallows don't burn.
 
Making The Marshmallow Mixture
      While Assistant #1 is making the marshmallow mixture, have assistant #2 measure out the chocolate chips (or if you don't have assistants, measure the chocolate chips while the marshmallows are melting).
Preparing Chocolate Chips
      Once the marshmallows are melted and smooth, add the chocolate chops and stir until the chocolate is melted.

Adding Chocolate Chips
      Remove the pan from the heat and pour the mixture over the cereal. Stir everything together until the cereal is well coated. There wasn't a picture because I was in charge of this step. Press the mixture into the prepared pan. We sprinkled a few pieces of cereal on the top and pressed them in also.
Ignore the blob next to his elbow, that was a failed experiment.
      Cool completely and then cut into squares.

Smores Bars

   Since our marshmallows didn't melt the way they were supposed to, the mixture didn't get fully mixed together but they were still really good. We packed the bars between sheets of wax paper (same way I pack Rice Krispie Treats) on our fishing trip today and they worked great when we needed a sweet snack. They will be really good on a camping trip when we start craving Smores.
     If you have a Smores recipe that doesn't use a campfire, email it to girlsintheoutdoors@yahoo.com and my assistants and I will try it out.


Sunday, June 23, 2013

I L ove My Float Tube!

     For our wedding anniversary, my husband got me a float tube. I love being on the water and had been thinking about getting one for about a little over a year, but wasn't sure I would like it and didn't want to spend the money on one and then hate it. I was a little nervous at first so I went out without a fishing rod for the a little while.
 
The Maiden Voyage
      Since I wasn't sure if I would like the float tube, I didn't have waders or the right kind of flippers or life jacket. I was using my flippers from my snorkel set, the life jacket I use on the towable tube and was in a swimsuit. The water was a little cold at first so for mountain lakes I will definitely be getting waders. The flippers worked great and the life jacket was a little too bulky but it works for now.


Figuring Out How To Move The Tube In The Water
      I caught on quick so I went back to shore to get my fishing rod. I decided my Browning spinning rod and reel would be the best choice for the first trip since I still get frustrated with my fly rod.

LOOK! I'm Trolling!
      I had a lot of fun and was all over the pond. I tried lures for awhile, but then saw my husband catching a bunch of bluegill from the shore on a worm and bobber and decided it was time to try that instead.
Yes, I got tired of my lifejacket so I took it off and left it on shore. Need to get a less bulky life jacket for float tubing.
     It took awhile to get used to not being able to put my rod down when I needed to take a fish of the hook, but having the net/tray thing helped a lot. Next time we go out, I'm going to try fishing the bottom of the pond and hopefully catch some of the catfish. Now that I'm more comfortable in the tube, I kind of hope I catch a carp that likes to fight.....and then slips off the hook at the tube so I won't have to touch it (I HATE touching carp).


He may have been a small bass, but we haven't seen that big of one in the pond since it was overfished about 5 years ago.
      I didn't realize how long I was out there until I saw my husband had started packing up the gear on shore. My legs are going to be a little sore tomorrow. I also forgot sunscreen, back isn't going to be happy tomorrow either. I had a lot of fun and wish I had got one years ago! I'm glad I decided on the horseshoe shaped tube instead of the donut shaped one. Having the front of the tube open made it easier to get in and out of and also made it easier to pull the vegetation off that got stuck on my flippers. I think we need to find one for my husband, too so we could both go float around our favorite pond together!

     I'm giving away Girls In The Outdoors stickers again so if you would like some, email me your mailing address: girlsintheoutdoors@yahoo.com.

Friday, June 21, 2013

Fishing With The Family

     I LOVE fishing with my family. My parents, siblings and grandparents used to go camping and fishing together every summer and those were some of the best memories. Even though we were very young, my brother and I remember a lot about those trips. My husband and I don't have kids of our own, but we have nieces and nephews that we can share those times with and hopefully they will have similar memories when they are adults. Last Sunday my brother and I remembered different moments from one trip that I will have to share in a later post.
     I decided to paint my fingernails for the weekend. Thanks to Pinterest I had the perfect design! I also think they were my lucky charm. Before the next family fishing trip, I think the girls need to get together and do our nails.
 
Lucky Rainbow Fish Fingernails

     We had a hard time deciding on a lake to go to because of all of the fires around us. We didn't want to go too far from home in case we needed to rush home and we also wanted to get away from the smoke. We found the perfect lake and there is a chance this will become our regular Father's Day lake. It was a beautiful day, there weren't a lot of people there and the fish were biting. (If Father's Day had been a week later, this lake would have had smoke around it, too.)
 
Beautiful View

Another Beautiful View
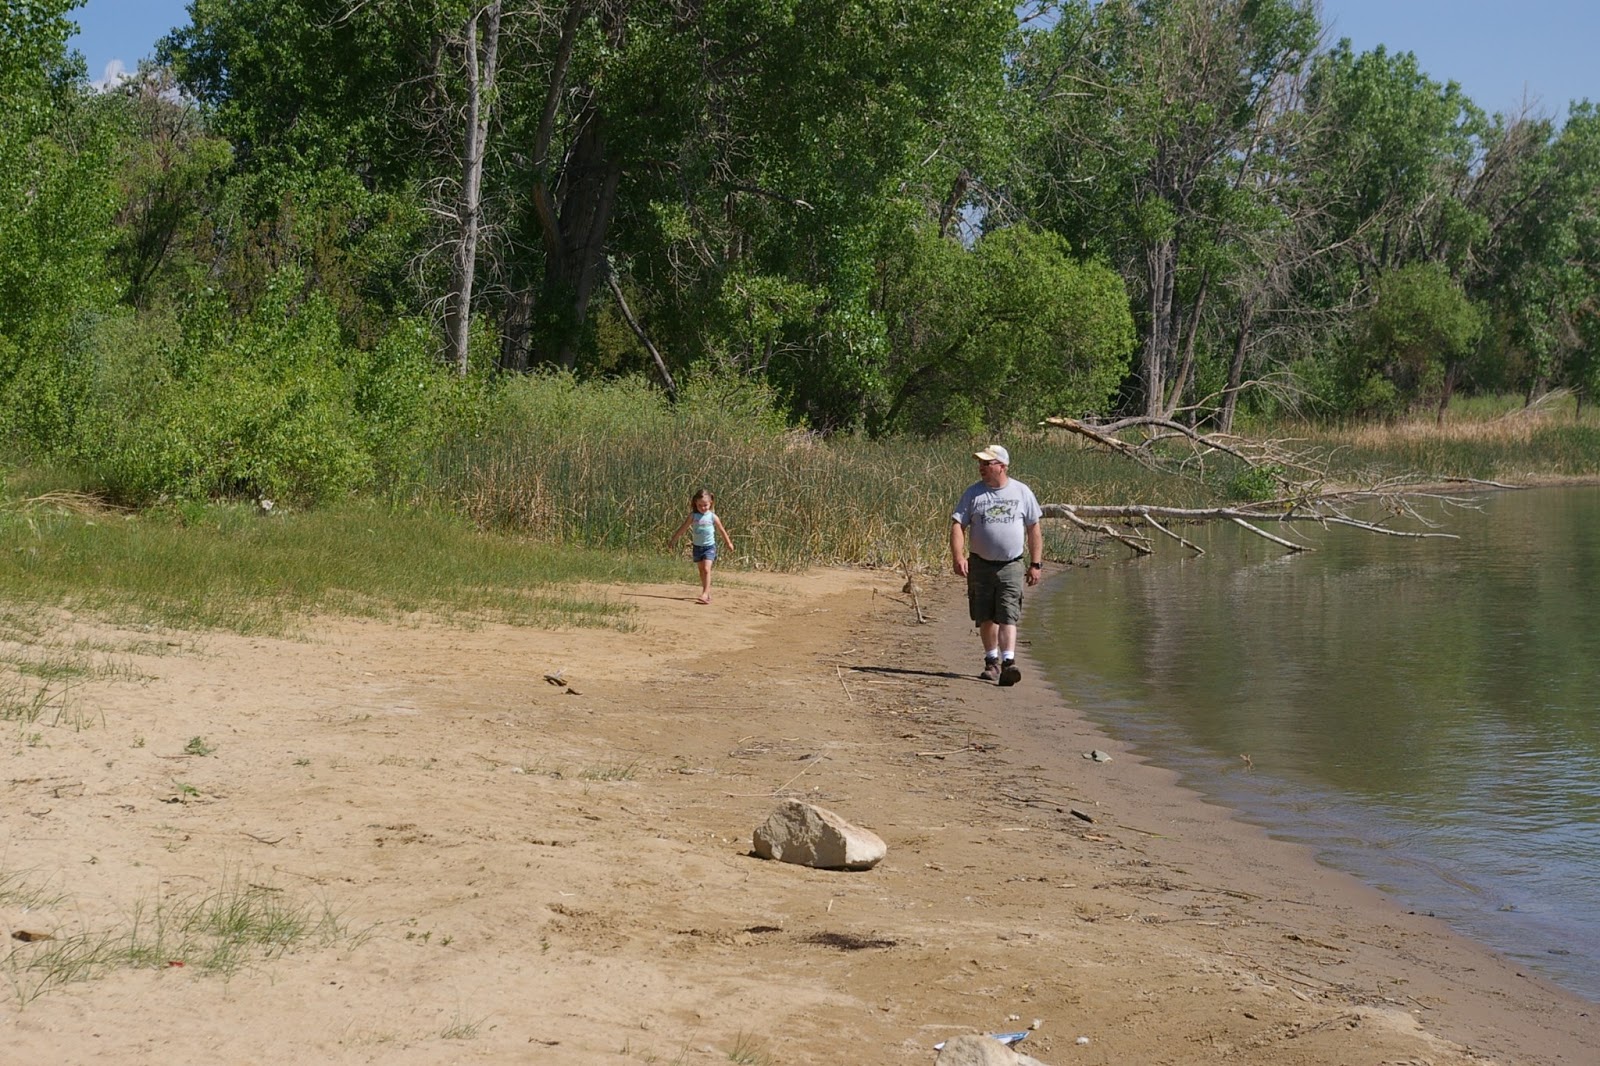
      For most of the day we had this entire area to ourselves so our niece and Uncle Kris did some exploring.
Cori and Uncle Kris Exploring

     The fishing started off really slow but nobody got bored because there was plenty of sand castle building sand available.

Sand Castle Building
      My niece loves to reel in her line whether there's a fish on the line or not. I wish she would have caught a fish that day because every fish we caught was a fighter and she would have had a blast!

Checking Her Bait
      My brother started off the day with a little catfish. This little guy was set free to get a little bigger.

Cole and Catch #1
      My niece borrowed Papa's hat for a few cute pictures.

Isn't She Cute?
      When we broke out the sandwich stuff for lunch, the fish all of a sudden decided they were hungry, too. My brother caught this nice Wiper.

Cole and His Wiper
      Then my dad caught a nice sized catfish and when I went to grab my camera, my rod almost went into the lake. My Wiper fought hard and I had a blast fighting it to shore. My sister-in-law was able to grab my camera and get a picture of Dad and I's double header.

Like Father, Like Daughter
      After lunch the fishing got a little slow until we started talking about packing up to move to another spot. All of a sudden my dad said "Cole, my pole! Cole, my pole!" and my brother had to grab the rod so Dad could reel in his carp. That carp went back into the lake.


Dad's Carp
      After that excitement, we sat to rest and enjoy the view a little while.

In Person, This Looked Like The Color Of Ocean Water

     My niece is 4 years old and she has decided she wants to cast her rod by herself this year. Her first try she almost caught her Papa so she let Uncle Kris help her on her next cast.

Learning To Cast From Her Uncle Kris
      There is a very good possibility she will outcast her Aunt Hilary some day.

Long Cast
      Before we packed up, I caught one last carp. I almost lost him. When he came to shore my leader line loop snapped and my carp bounced off my brother.

Last catch for the day.

     We were all so tired that we didn't fry up the keepers that night for dinner, but they will be dinner one of these nights very soon.

The Keepers
     Be careful outside everybody! Colorado wildfires have gotten very scary these past 2 weeks. Even if you aren't in a fire area, you are probably in heavy smoke if you love in or are visiting Colorado.

Monday, June 17, 2013

Hot Dogs Day 4 - Dog Kabobs

     We've been on a little break watching the Colorado fires, especially the Royal Gorge Fire since we live so close. The fire is 100% contained and our nerves are calmed so it's back to work.
     This was our favorite hot dog experiment. If we had done this recipe first, we probably would have done 4 days of Dog Kabobs instead of doing 4 different recipes. This recipe will work great for home grilling and both camp grilling and over the camp fire (as long as fire danger isn't too high). Kids will love to help make their own kabob.
     There isn't a real list of ingredients because like any kabob, you use ingredients you like. We used hot dogs, orange bell pepper (we chose orange to add more color), grape tomatoes, sweet pickles, onion and pepperoncini peppers. We used the metal skewers, but wood skewers or a hot dog fork would work great, too.
 
Our Ingredients
      First, cut the hot dog into 8 to 10 pieces. Also cut up any other ingredients you need to like peppers and onion.

Sliced Hot Dogs
 Start skewering! This is a lot of fun. Just start putting your ingredients on the skewers.

Filling My Skewer
     For some reason every time I make any type of kabob, I HAVE to fill my skewer. I don't know why, but for some reason a skewer that isn't filled from tip to tip makes me nervous.

His Skewer On The Left, My Skewer On The Right
      Grill the kabobs until the veggies are tender and your hot dogs are done.

Grilling The Kabobs
      One of the best things about Dog Kabobs is, there are so many different ways to serve them! You can serve them on a bun with condiments,

On A Bun With Ketchup
On a bun with no condiment (this was my favorite way),
 
No Condiment
 On a plate salad style,

Salad Style
 And of course, on the skewer with a beer or iced tea in the back yard.


On The Skewer
     This would also be great for brats and sausage. I can't wait to try these on a camping trip! I need to add wood skewers to the list of things to have in the RV all the time. We could throw the skewers in the water to soak before we head out for a trail ride or a day of fishing and they would be ready for cooking by the time we are ready for dinner!

     If you have a hot dog experiment you would like to share, email it to girlsintheoutdoors@yahoo.com. I don't plan on eating another hot dog for a few weeks though, I'm looking forward to a couple days of chicken.

Sunday, June 9, 2013

Hot Dogs Day 3 - Pigs In A Sleeping Bag

     This hot dog post is dedicated to my dad because it was his idea. He has been talking about Pigs In A Sleeping bag for a few years now. This was a great idea and we will be remembering it for future.
     You need: hot dogs (duh!), all your hot dog toppings and some bread. The bread is important. You need a lite bread, not a heavy dense one.
 
What you need.
 While the grill is heating up, cut hot dog holes in the end of the bread. We found a fillet knife works great for this. (Just be careful of the end poking out the back of the bread.)

Cutting The Hot Dog Hole

The Hot Dog Hole
      You need to cut out the length of the hot dog and as wide. We actually cut a little deeper than the hot dog.
Some Final Trimming
 The cut outs make great dog treats for your "helpers."

The Bun Guts
      Grill the hot dogs to your desired doneness.

Cooking The Pigs
 
      If you want onion in the sleeping bag, cut them in slices instead of chopping them because they will slide in easier.

The Onion
      Squirt in your condiments. Don't try to get the condiments done to the bottom yet, the hot dog will take care of this later. 

Adding The Condiments
      Carefully slide the hot dog into the bread. You can add more condiments to the end if you want to.

Putting the Pig Into The Sleeping Bag
      These were really good! The condiments didn't drip out and make a huge mess all over the place and we found some nice fluffy rolls that worked great. They absorbed the condiments enough but also let some of the condiments slide with the hot dogs. That way the condiments were evenly dispersed through the bun.

My Hot Dog
      My husband added onion and sliced cheese to his. Next time we may have to get some spray cheese. That would have been easier to put in.

My Husband's Hot Dog
     These would have been great for chili, too. For Chili it would be a good ideas to take out more of the inside of the bread to make room for chili.
     There is one more Hot Dog Day post and I think it is my favorite.