Sunday, February 24, 2013

Homemade Fruit Snacks

   Recently I was on Pinterest posting some of my jewelry and looking for recipes and found this recipe for fruit snacks. I love finding recipes of snacks my family loves. You can leave out flavors you don't like, make extra of the flavors you love and most of the time they taste better than the store bought snacks. We have a fruit snack expert in my family so when I found this recipe I decided I had to try it.
     I'm not sure why I didn't take a picture of all of the ingredients like I usually do but you need:
1/3 cup water
2 packets of unflavored gelatin
1 package of any flavor of gelatin
 
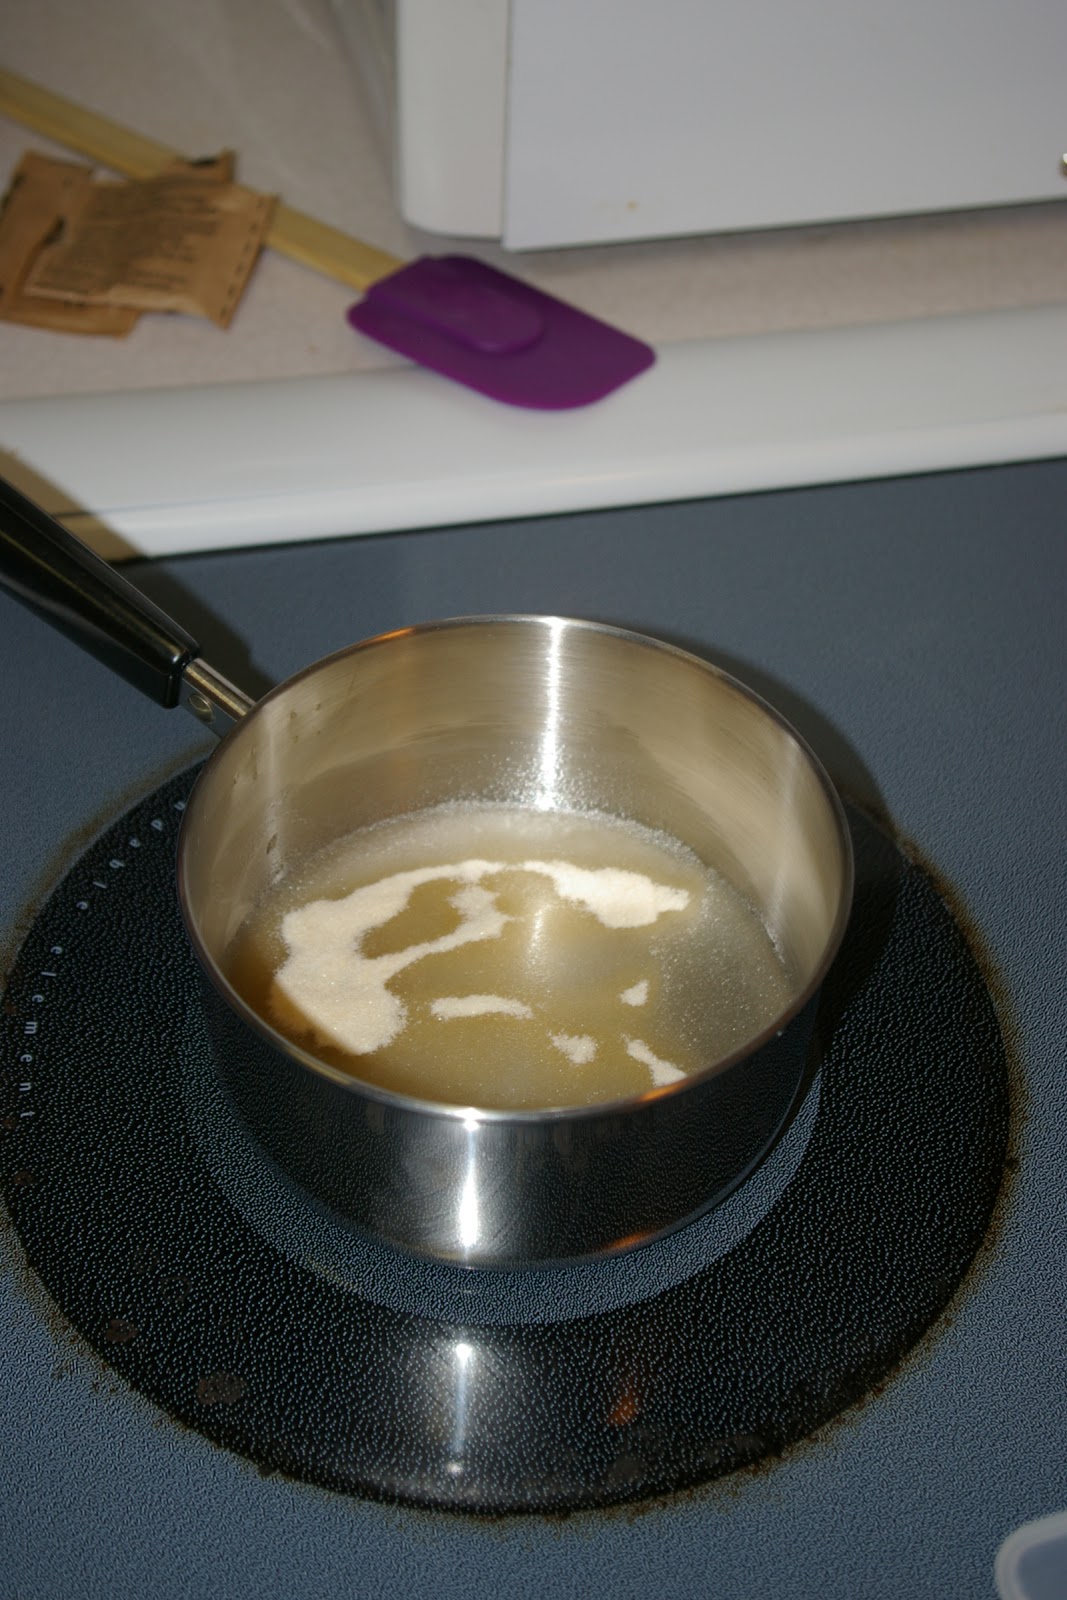
   First pour the water in a small saucepan and sprinkle gelatin packets over the water.


    Heat the mixture over medium heat and stir frequently until all of the geltin is dissolved completely.
 
   Next spoon the mixture into molds. Since I was experimenting, I used the icetrays from the motorhome. I also used my minimuffin tray to make some skinnier ones that worked well, too. (I'll explain more about molds further down).


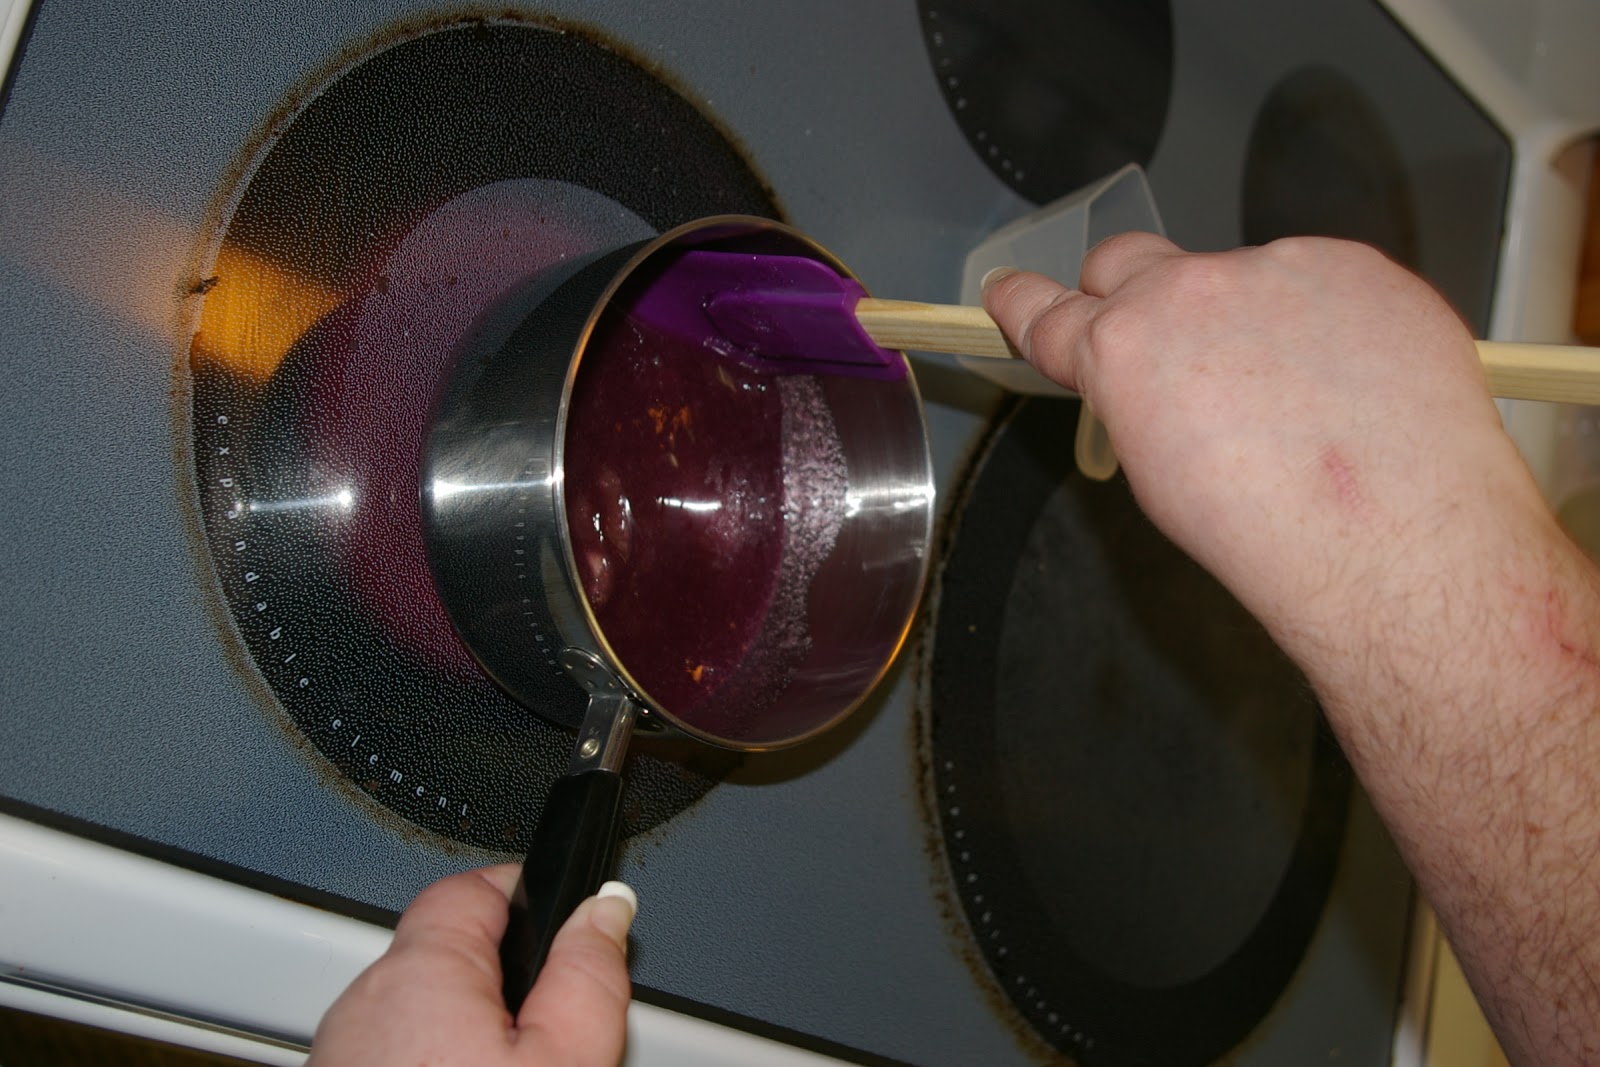
   While you're spooning the mixture into the molds, keep the saucepan tilted. The mixture starts to set up fast so you want to keep it pooled as much as possible, this also makes it easier to spoon out the mixture. I also noticed using the smallest saucepan in my set worked the best.

 
You'll notice the fruit snacks you buy in the store are small and thin, I found they are that size for a reason. Too thick makes it feel kind of like chewing plastic at first and too big around, they flop around in your mouth. The icetrays were a little too think and the mini muffin trays were a little too big round. I ordered some bite size candy molds that are going to work great.


    After about 20 minutes, you can remove the fruit snacks from the molds. Place the fruitsnacks on a piece of wax paper to let them finish setting up and dry. I also noticed the icetrays were harder to get the snacks out. I tried spraying 1 batch with a little cooking spray and it worked great! I was worried it would leave a grease film on the snacks, but it really didn't.


    The thicker molds made the fruitsnacks sweat a little so they needed to sit awhile so they wouldn't stick to each other. Once in awhile, the bottom/wider end of the fruit snacks were still a little  sticky and kept sticking to each other so I put a little powdered sugar on the sticky side while it set up and it wasn't sticky anymore and it didn't change the taste of the fruit snack at all. I will warn you, the grape flavored snacks make you crave grape KoolAid. When I first poured the grape gelatin in the water the smell made me want the KoolAid and then once these purple icecubed shaped snacks were sitting there, I REALLY wanted some grape KoolAid.


I made every flavor I had in my pantry and ran to the store for a couple more. Since I was hanging out with the family's fruitsnack expert yesterday, I put each flavor in a baggie and labeled them (there were 2 reds so I had to make sure I knew which was which) so she could decide which flavors to keep and which ones to leave out.

 
On the drive home, the expert and I had a meeting. We decided which flavors worked and which flavors didn't. Flavors to keep on hand at all times in case of any fruit snack emergencies are: Grape (need to get some grape KoolAid, too), Cherry, Strawberry and Orange. Flavors that weren't too bad were: Lime and Berry Blue. Flavors to not do again are: Lemon and Peach (Peach smelled awesome but there was no taste at all). The meeting was adjourned and she took a nap.


   If you have any fruit snack questions for the expert, please leave a comment and I will be happy to consult her and get you an answer as quick as possible (as long as I can fit it into her busy schedule).

Sunday, February 17, 2013

Fishing Vocabulary: Types of Reels

     One of the main reasons I started this blog was to help educate women, and even men, on some of the basics of outdoor activities. Basic vocabulary is sometimes the most important information to know. Because everybody else knows it and uses it and if you don't know it, you can be very confused. I decided to start with most popular types of reels since the Bass Pro Fishing classic starts this week with the reel trade in this weekend (see your local Bass Pro Shop for details). There are several different types of reels and everybody has their own preference.
  
  This first type of reel is a closed face spinning reel. There is a  fixed reel inside the nose cone with a button at the bottom of the reel body which releases the line to spool out during the cast. The nose cone lets the line come off straight through the hole at the top of the nose cone. This type of reel is mounted to the top of a rod. This type of reel is very popular as a kids' reel because the nose cone protects all of the spinning parts from little fingers and the button makes casting easier for small hands and short arms. This reel doesn't cast as far as other reels, but is the least prone to tangles and backlashing. Almost all of these reels are right hand retrieve and cannot be changed to left hand retrieve. This is the type of reel I started with as a kid, as did most people.


     I prefer an open face spinning reel. This reel has the spool exposed, and no button or nose cone. You have to flip up the bail (the half circular arm) to let the line release on cast. You can see the line spooling off in loops as it leaves the spool. This reel is mounted underneath the rod. In this picture the handle is mounted on the right hand side, only so it would hang on my wall the way I wanted it to. These reels usually have the reel on the left hand side, and most can be changed for right or left hand retrieval. This is probably the most popular reel used today. 
 
 
      The next type of reel is a bait caster. It is a revolving spool reel mounted to the top of the rod. This type of reel is very popular for lure fishing because you can reel in the line at a higher speed. They are available in left hand or right hand retrieve, but cannot be changed like a spinning reel. They are strongest by design. They can be frustrating to use as they get backlashes very easily.


This last type of reel is a type of fly fishing reel. This is a very old and small fly fishing reel in my picture. Fly fishing reels works very differently than any of the other reels. You don't reel in all of the line after every fly fishing cast. We'll get more detailed about how fly fishing works in a later post.
 
 
     There are other types of reels that we make describe in later posts, but these are some of the most popular and most are ones I have used.


Monday, February 11, 2013

GITO Jewelry - Some Earrings

    I have started making jewelry! I am having so much fun coming up with new ideas and it'sa lot of fun walking through sporting goods stores looking for jewelry making supplies. I am slowly loading what I have ready onto my Etsy page. Please check out my Etsy store and let me know what you think! http://www.etsy.com/shop/girlsintheoutdoors

This post is dedicated to some of my earrings I have made. The first earrings are ones I wear all of the time. They are made from spinner blades and are a lot of fun to wear. Here are the 3 brightest colors I have. I also have some colors that aren't so bright, but I just finished them so there aren't pictures yet.

 
     Some of the spinner blades also come with pendants to add to a chain.
 

     The fly earrings are pretty new and I've been told women who fly fish love them. Let me know what you think about the fly earrings.


      These earrings are a little more difficult to make, but also one of my favorite. Right now I only have a couple color options because they do take a little longer to make than the other earrings. You can get yellow & orange or pink & purple. They are designed to look like an inline spinner lure (which we know is one of my favorite types of lures). The spinner blade is free to move just like the lure!


     Check out my Etsy page and during the entire month of February use the coupon code GITOVALENTINE and get 20% off your order!  I'll have a post about the paper beads in a few days. I have some new paper bead items I'm working on for that post.

Saturday, February 2, 2013

A Meal I Will Never Eat Again

     In 2010 we were night fishing at out local lake and we found a LOT of crawdads. We were with my sister and her boyfriend (now husband) so we had 4 people catching crawdads. My sister is the pro at catching crawdads, I might have to have her do a "How To Catch Crawdads" post. I had never eaten crawdads, so my husband said he'd make me a crawdad dinner and we filled up our cooler.
 
Our Catch
      We had some really big crawdads. A couple looked like baby lobsters!

Doesn't the one on top look like a baby lobster?
 
      We had the crawdads inspected. Really we just wanted to see how the dogs would react to the crawdads and when we found one without claws, we decided to find out.

Sasha Doing Some Investigating.

     We put one of our bigger coolers in the fishing wagon and "purged" the crawdads for a couple days. Having the cooler in the wagon made it easy to take the crawdads out to drain the water and add new water to the cooler. We also added an air pump to make sure they stayed alive.

Purging The Crawdads
 
      We set up the turkey fryer in the back yard (since there wasn't hot oil involved, we set it up by the patio, we NEVER cook a turkey this close to the house) and added some water and a bunch of Old Bay seasoning and a few Bay Leaves.
Hot Water with Some Seasoning
 
      We added some red potatoes and the smell was AWESOME!

Potatoes Added To The Water
 
      Then the corn was added to the water.
Adding Corn
 Then it was time to add the crawdads! We drained the water out of the cooler (that patch of grass was really happy that summer).

Sasha Helping Drain The Water From The Cooler
      The cooler went back in the wagon and moved to the cooking area to wait for the potatoes and corn to be almost done.

Almost Ready To Add Crawdads

Purged Crawdads Ready To Become A Yummy Dinner


"The Big One"
      We also had our "guard dog" on duty in case anybody tried to escape.

Our Guard Dog
      The crawdads were added, we watched them carefully so they weren't overcooked.

They Look Done!
 
Steamy
      We pulled the basket out of the water and let the water drain out.

Almost Time To Eat!
 We took the crawdads out of the veggies and went ahead and took the meat out of all of the crawdads so they were easier and less messy to eat. If we had dropped anything while sitting at the table I'm pretty sure the dogs would have eaten anything before it hit the floor, so this was the safest way.....or so we thought.

A Bowl Of Yummy Crawdads
      I learned that I LOVE crawdads. I think I like crawdads more than lobster! So why is the name of this post "A Meal I Will Never Eat Again?" Because later that night my mouth felt funny and my hands itched really bad. I had never had an allergic reaction to food before so I didn't know what was going on. The next day I realized what was going on and started taking Benadryl and the itching and weird feeling went away. I was the one that had taken most of the meat out of the crawdads which is why my hands itched so bad. I couldn't even eat the leftover potatoes and corn or touch the bowls they were in until they had beed washed!! A couple months later I started giving my dogs Glucosamine and found out I have to be care about getting that on my hands because it has crawfish in it!! I had no idea you could be allergic to one type of shellfish and not another. I can eat shrimp, crab and lobster but I will never eat a yummy crawdad ever again.....*sniff.*
Remember Him?